
The VLC Media Player is arguably the best video player out there. All the cool kids use it. And it’s free. It’s cross-platform. That means that whatever you’re running, e.g., Windows, Mac, Linus, Android, iOS, VLC Media Player will play.
While this media player has many more features than the average user will ever need, it has a few that are especially noteworthy.
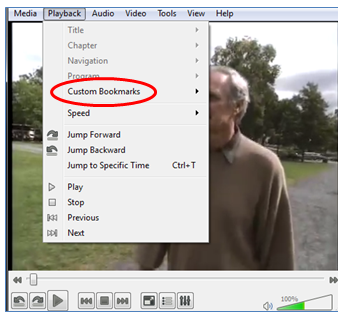
Custom bookmarks
On the playback menu, you can add custom bookmarks to your video file. If you’re a keyboard shortcuts sort of person, CTRL+B.
The “Edit Bookmarks” window will open. Go to the spot in the video you want to bookmark, and click the “Create” button. Want to create additional bookmarks? Repeat as needed.
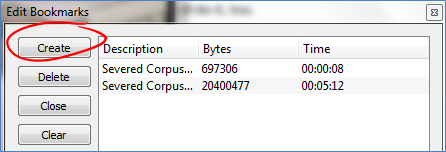
To navigate to a particular bookmark, double-click on it.
Jump to a specific time
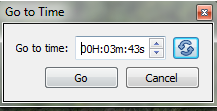
If you’d rather not use bookmarks, and you know the time in the video you want to move to, on the playback menu select “Jump to Specific Time.” Or CTRL-T.
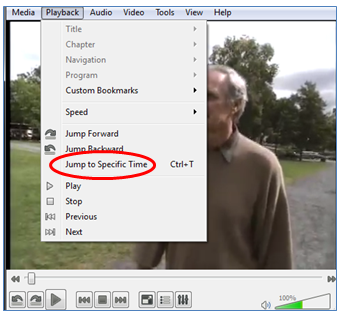
In the popup window that appears, enter the time and click “Go.”
Screenshots
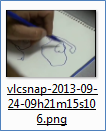
Want to take screenshots from the video? On the video menu select “Take Snapshot.” The image file will automatically be saved in your pictures folder – or at least that’s where they are saved for me. The file path will flash briefly in the video window.

Each snapshot follows this naming convention: vlcsnap – today’s date – time in video.
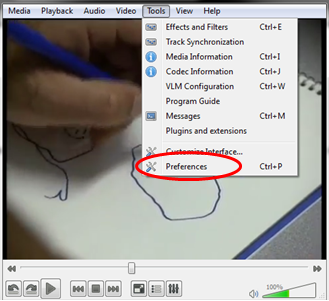
To change the default location of where snapshots are stored, on the tools menu select “Preferences” (or CTRL+P).
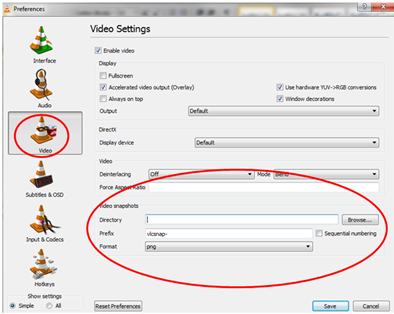
In the popup window click on the video icon. At the bottom of the window, you can browse to the folder where you’d like all future video snapshots to go. If you don’t like vlcsnap as the prefix amended to the filename of the image, change it to something else. You have two choices for image filetype: png (default) or jpg. For saving images from video, jpg is probably a better file format. Read more about the difference.
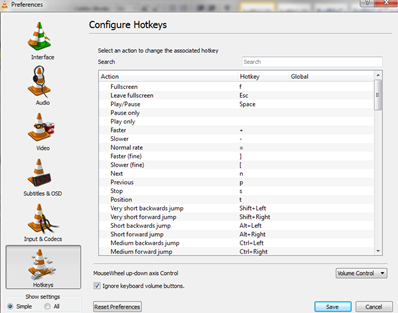
Hotkeys
While you’re in preferences, click on the hotkeys icon (bottom left). Here you can see all of the keyboard shortcuts and change them to your liking. My favorite: Space to pause the video; space to resume play. No fumbling with the mouse!
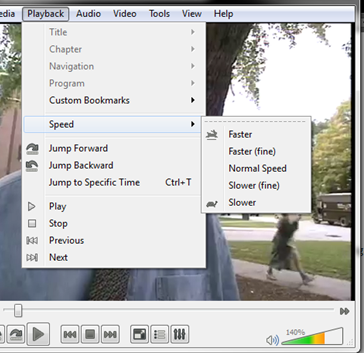
Faster/Slower
Want to skim the video? On the playback menu, mouse over speed, and select “Faster (fine)” or just plain “Faster.” “Faster (fine)” will increase the speed in smaller increments. Every time you click on it, the video will speed up by a tenth – 1.1 times faster, 1.2, 1.3, etc. Clicking on “Faster” jumps you to 1.5 times faster, then 2.0, then 2.5. Keyboard shortcuts are very handy here. As the video is playing, to speed it up slowly, “Faster (fine)”, use ]. To slow down slowly, use [. To do the big jump “Faster,” use +; “Slower,” use -. Interestingly, on my keyboard, the + sign up with the numbers didn’t work, but the + on the numeric keypad did. And = will return the video to it’s normal playing speed.

Conclusion
Try it out. Our IT people have it installed on all of our campus computers. You may already have it and don’t know it.
Bonus
Watch the video featured in this post.
