I have an assignment where I ask students to read a NY Times article on what constitutes good study habits. I ask students to identify the recommendations in the article and then evaluate their own study habits, noting any changes they intend to make. Since this is for an intro psych course, I also ask students to identify the independent variable and dependent variable in one of the studies described in the article. Right now I just let students pick from the few studies that are reported. If I wanted students to identify the variables in a particular study, I would have to describe the study in the instructions for the assignment.
Enter Markup.io. Here I drew a box around the description of the study, then I added some text and an arrow.

There’s no service to sign up for. There’s nothing to download. You just mark up a webpage, click the publish button, and Markup generates a new web address. You can visit the webpage I marked up here: http://markup.io/v/fc6jmvrcft14.
Here’s how it works. Visit Markup.io. In the bottom right corner of that page, there’s a black box with white lettering that reads “drag to bookmarks bar.” Do that. Click there and drag it to your bookmarks toolbar in your web browser. This is what it looks like in my browser:

[At this point, I strongly encourage you to visit Markup.io, add the bookmark to your toolbar and follow along as I describe how Markup works. It’s much easier than I am able to convey in this post.]
Visit any webpage that you like. I’ll visit the study habits article. Click on Markup in your bookmarks toolbar. In the top right corner of your webpage, Markup will load this toolbar:

The first icon is a pencil. See the little tiny triangle at the bottom right of that icon? That tells you that that icon has other tools available. Clicking the pencil icon generates this dropdown menu.
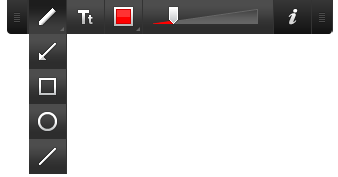
The pencil lets you draw freeform. The arrow, square, circle, and line tools provide a more constrained image. They’re just like working with shapes in MS Word.
The Tt icon is for text. Click that icon, then click anywhere on the webpage where you would like to add text. While you can’t see a text box, it is like working with text boxes in MS Word.
Click the red box icon to see the color palette. Click a different color to change colors.
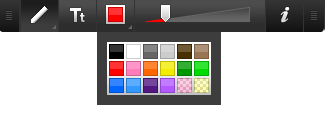
The next icon is a line-thickness control. Want a thicker line? Grab the gray arrow and slide it to the right.
Tips.
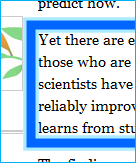
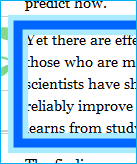
When you’re working with a particular image on the screen, say a box that you’ve just created, the box will sort of glow. It’s a subtle difference.
|
Box deselected.
|
Box selected
|
Click on a box to select it. It will glow to confirm that you did indeed select it. Now you can grab and move it. You can delete it, by just hitting the delete key on your keyboard. You can change the width of the lines with the slider tool, and you can change the color by using the color palette. You cannot resize it, though. If you need it to be a different size, just delete it and draw a new one.
After you’ve added some text with the Tt icon, click on the drawing (pencil) icon. Now when you mouse over the text, you can see the box around the text, and you can grab and move it wherever you’d like. As long as the text box is highlighted, you can change the font size by using the slider (move the slide to the right to increase the size of the font) and the font color by using the color palette.
Ready to publish.
You’ve finished marking up the page and are ready to make it publicly available to your students. Click the i icon.
|
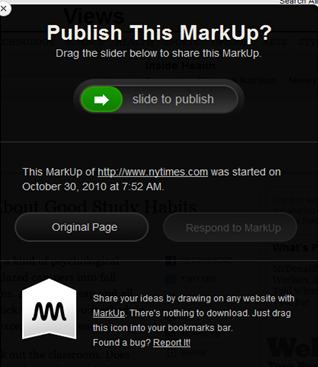
That will generate this pop-up window. Grab the green arrow and drag it to the right. If you’re not ready to publish, click the x in the top left corner to cancel.
|
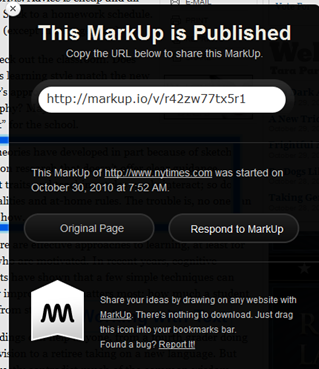
Sliding to publish will generate this pop-up. Highlight the URL, and copy it. (To copy, CTRL-C, or right click on it and select copy.) Click the x in the top left corner to close the pop-up.
|
Sharing the URL.
Give your students the Markup URL that was generated for your marked up page. When they visit the page, Markup loads a toolbar in the top right corner of the page.

Clicking “respond” will let visitors to the page add their own comments and drawings. It generates this pop-up window.
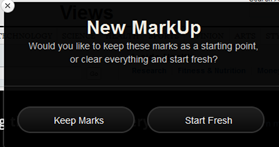
“Keep Marks” lets visitors add to your mark up. “Start Fresh,” unsurprisingly, erases your marks. In either case, visitors to your page then get the original Markup toolbar that you used to create your marks. When they publish, they’ll get a new URL. Your original URL will still take people to your marked up page.
Important note. Markup works by taking a screenshot of the webpage. That means that the hyperlinks no longer work. Clicking I in either the original or the respond toolbars will give the option to return to the original webpage.
As always, if you try it out, let me know how it works for you!

