BridgeURL lets you save multiple web addresses in one web address. Send your students to one URL, and they can flip through them in a slideshow. BridgeURL is a brand new tool, and they are continuing to add features.
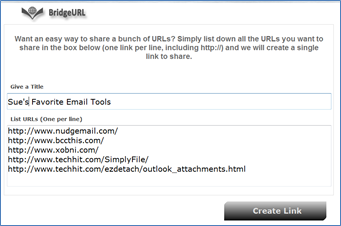
To create a BridgeURL, visit the BridgeURL website, create a title for your link, then enter your web addresses.

Click “Create Link.”

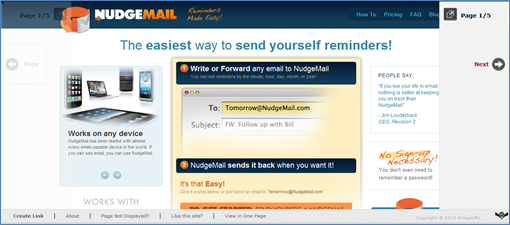
Here’s the link I created: http://bridgeurl.com/Sue-s-Favorite-Email-Tools. Follow this to see the links in ‘slideshow’ view. This is what it looks like in my browser. When I took this screenshot, I had my mouse hovering over the right side of the screen. Clicking ‘next’ will take you to the second URL I entered. Mouse over the right side of the screen to go to the previous URL, in this case it would be the fifth URL I had entered.

Quirks:
It uses your title to create the URL. If that title is already in use, BridgeURL won’t generate a new URL, but it also won’t give you an error message. The page just sits there, staring at you blankly.
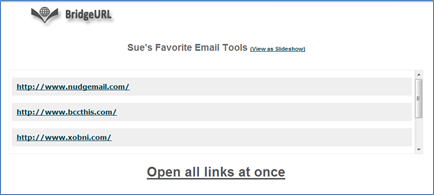
Websites that don’t allow the use of IFrames (like Facebook) won’t display in the slideshow view. BridgeURL has an ‘all’ option. Just add “all” to the end of your BridgeURL to get this view (for example, http://bridgeurl.com/Sue-s-Favorite-Email-Tools/all ). Click on the URLs individually, or if you click “open all links at once,” all of the links will open in your browser, each one opening in a new tab.

Bonus tip:
If you want your students to visit several websites, such as NY Times articles, this is a terrific way to package them all together. Use this service in combination with MarkUp.io, WebNotes, or Eyejot. Add your annotations to a website using one of those services, then take those created URLs and add them to BridgeURL to create one URL. Keep in mind that students will be viewing the websites in whatever order you choose.
[Thanks to Mashable for posting information about this resource! http://mashable.com/2010/11/09/bridgeurl]

