As frequent readers of this blog know, I’m a fan of everyone who has the skill to create scripts that make Canvas better. This post will feature another James Jones script (thank you, James!). Like other scripts, this one uses the Tampermonkey add-on for your browser. If you don’t yet have Tampermonkey installed, visit the Tampermonkey website and click the first download button, not the beta version.
What the “add color course border” script does
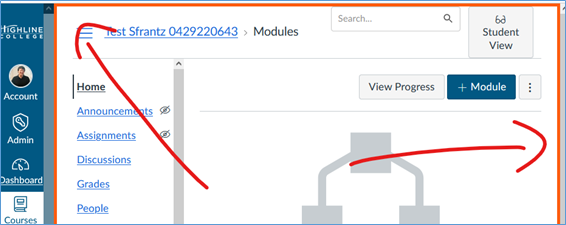
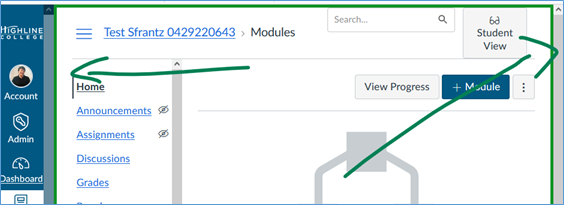
Since all Canvas courses look the same, it can be hard to tell at first glance which course you are in. The “add color course border” script provides a handy visual cue.
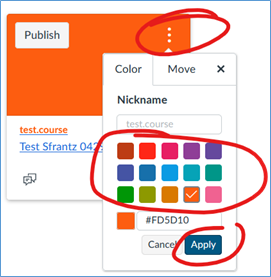
The color is determined by the color of the course card on the dashboard. Click on the 3-dot kabob menu icon. Choose from the default colors by clicking on one and hitting the Apply button.
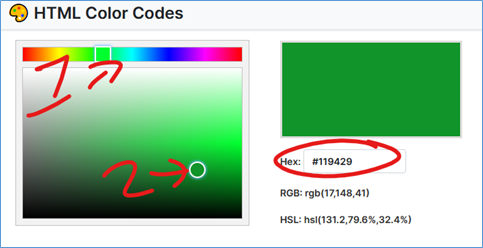
If you don’t like these color selections, you have about 16 million color options. Be aware that this next bit of knowledge may result in you spending way too much time choosing the absolute best color that captures your feelings for a particular course. Go to html-color.codes. There are a bunch of sites that work in a similar way. They all have advertising. The ads on this one feel the least intrusive. If you’d like to take a look at other sites, use this search term: color hex codes.
On the html-color.codes site, use the slider to pick the hue, and then click and drag the white circle to choose the ideal shade. Once you have the perfect color, copy the 6-character hex code. (“Hex” as in hexadecimal, a base-16 numbering system that uses the numbers 0 to 9 and the letters A to F.)
On the Canvas dashboard course card, enter the hex number and click apply.
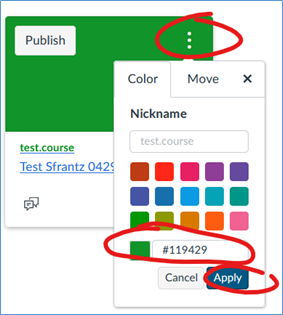
Your course card will now be that color. And once you’ve installed the “add course color border” script, your course border will also be that color.
Installing the script
You have Tampermonkey installed, yes? If not, install it.
Next, install the script by clicking here.
Log into Canvas. Look at the url. If it starts with <something>.instructure.com, you should be good to go. If it starts with anything else, say, canvas.<something>.edu, then we need to make a little change to the code.
In the top right corner of your browser, click on the Tampermonkey icon, black square with two white circles.
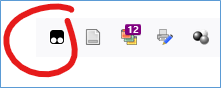
From the menu, select Dashboard. On the Tampermonkey dashboard, select “Add Color Course Border.” If this is your first Tampermonkey script, this will be the only one on your dashboard.
After selecting it, you will see the code. In line 5, the code says it will only run on instructure.com pages. Since we need it to run on canvas.<something>.edu pages, we need to add line 6 highlighted below: // @include https://canvas.*.edu/courses/* then save by clicking FileàSave.

Important cautionary note: Clicking on the little yellow icon next to line 6 tells us that @include is going away in 2023 and that we should use @match instead. For reasons I don’t (yet!) understand, @match does not work for me, but @include does. [If you know why @include does not work for me, please email me at sue@suefrantz.com. Thanks!]
Now, go to one of your Canvas courses and enjoy your new border. While you’re there, take a look at the Tampermonkey icon in the top right of your browser. It will now have a 1 on it to confirm that one Tampermonkey script is running on the page.

