I use a student response system in my classroom (iClicker) for low-stakes quizzes and for ungraded questions that give me a sense of what my students are getting and what’s still a little fuzzy. If your institution doesn’t have funds to support this technology, or if you’re not sure you’d use it enough to make it worth the expense, consider trying Poll Everywhere.
Poll Everywhere uses your students’ cell phones as ‘clickers.’ All you need is a live internet connection in your classroom.
Cost: If you choose ‘higher education’ you can collect up to 32 responses per question for free. If you would like more students than that to respond, you’ll need to invest in the $700/year upgrade. The upgrade also comes with some additional functionality, like being to link each student’s response to their name. For the purpose of this post, I’m going to stick to the features of the free version.
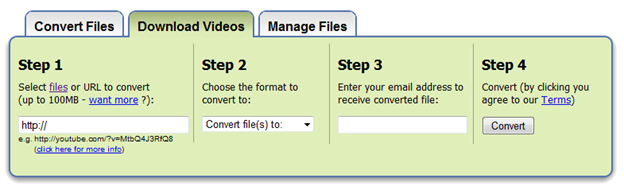
When you visit Poll Everywhere, you’ll create a login. After you register, click “Create New Poll.”
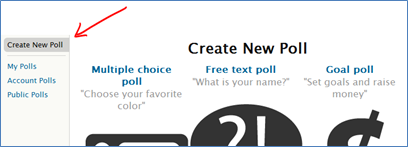
For this post, I’ll walk you through creating a multiple choice poll. In the free text poll, students can text whatever they’d like. Depending on your class, this might be a bit risky. In the paid version, you get to see what students are texting and have the option to approve it before it’s displayed.

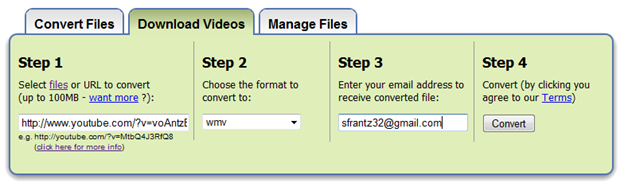
Type in the question you’d like to ask, and then type in your possible answers. Poll Everywhere defaults to 3 responses. If you want more, click the ‘add an option’ button. If you want one less, just leave one blank.
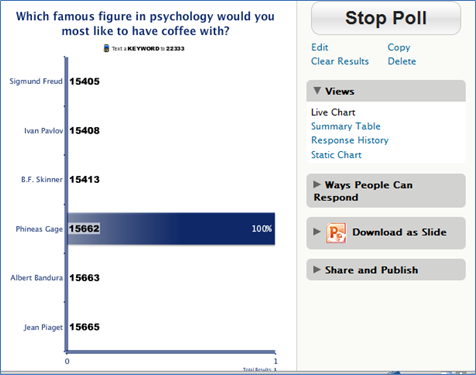
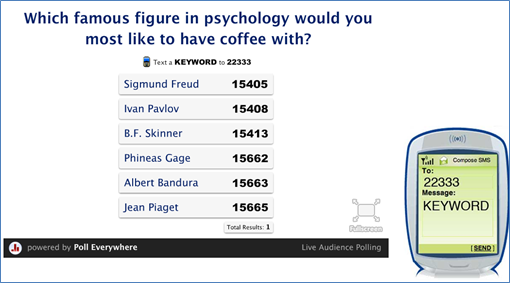
Here’s a question I created.
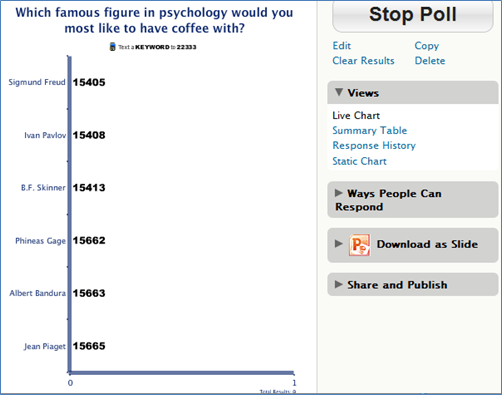
Right under the question, it reads “Text a KEYWORD to 22333.” Students pull out their cell phones, and send a text to the number 22333. In the body of the text, they punch in the number that corresponds to the name. In the free version, Poll Everywhere assigns a number to each response. In the paid version, you can decide what the keyword will be. If I were using the paid version, I would choose each person’s last name as the keyword, so instead of 15662, students would text gage.
Students can respond in other ways, say by computer or smartphone. On the right side of the screen, select ‘Ways People Can Respond,’ and check off the relevant boxes.
After sending in my text, the screen updates in less than 5 seconds. At the very bottom of the graph, you can see that 1 person has voted, and all 1 of us agrees that Gage would be the person to have coffee with.
If you’d rather not leave your (PowerPoint, KeyNote or Mac PowerPoint) presentation to ask your question in class, select “Download as Slide.” In the downloaded file, the first few slides offer instructions and tips. The last slide contains your question, although it doesn’t look like it. This is what it looks like.
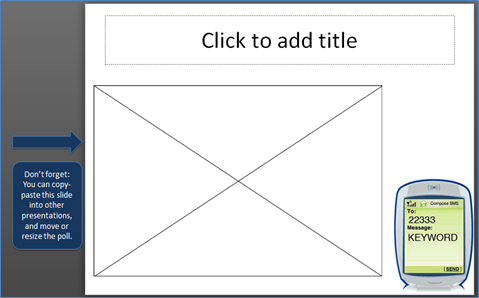
To paste it into your existing presentation, on the far left side where all of the slides are, right click on the last slide, the one with your question that you can’t see. Select ‘copy.’ Open the presentation that you want to put the slide in. Of the left, right click between the two slides that will bracket your new slide. Click ‘paste.’
You can treat this slide just would any other slide. The box with the big X in the middle is where Poll Everywhere will import information from their website.
When I run my presentation, this is what my slide looks like.
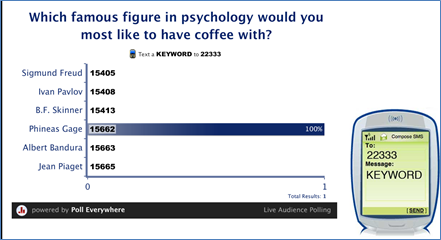
This slide will be updated in real time as students vote.
If you don’t want your students to see how everyone else is voting, mouse over the left side of the question stem. See the 6 little transparent boxes? That’s the ‘instructions’ icon. Click it.
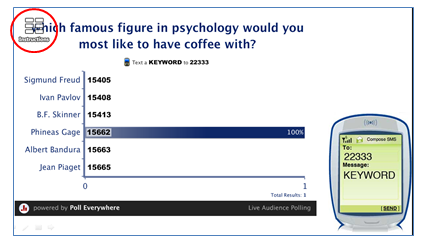
That will hide the results and only show students their voting choices.
To show the results, mouse over the left side of the question again. This time a transparent ‘results’ icon appears. Click it to show the graph.

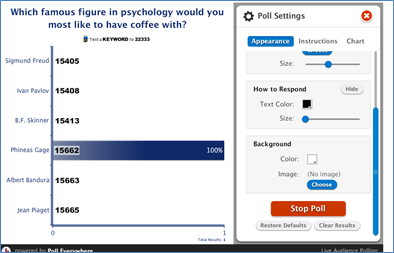
Mousing over the right side of the question pulls up the settings icon.

Clicking it provides a menu with 3 options at the top. Try out the various settings to change how the slide is displayed. All 3 sections will allow you to stop the poll. You can also choose to ‘clear the results.’ That’s desirable when you have 32 students in your current class with another 32 coming in right after them.
All of your questions are stored in your Poll Everywhere account. Just log in to add new questions or edit your existing question. If you edit a question, any presentation file that already contains that question will automatically be updated.
Standard text messaging rates apply. In other words, if your students don’t have unlimited texting, the text to Poll Everywhere counts against their monthly allotment. Smartphone users and laptop users can go to poll4.com and just enter the 5-digit keyword next to the answer they’d like to choose. No text messaging cost that way. The poll is open. Try it! See the live poll here. (Remember that 32 is the maximum number of responses. When it hits 32, leave a comment, and I’ll reset the question back to zero.)
<script language=”javascript” src=”http://www.polleverywhere.com/polls/LTIwODMyNzgxMTY/chart_widget.js?height=250&results_count_format=percent&width=300″ type=”text/javascript”></script><div style=”font-size: 0.75em”>Create your own <a href=”http://www.polleverywhere.com/”>sms poll</a> at <a href=”http://www.polleverywhere.com/”>Poll Everywhere</a>
</div>