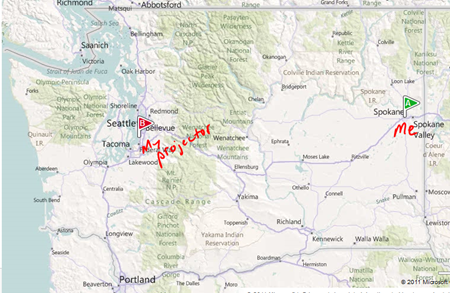
I had the pleasure of spending last Thursday and Friday in Spokane, WA at the Pacific Northwest Assessment, Teaching, and Learning Conference. This annual conference is presented by the Washington State Board for Community and Technical Colleges (WA SBCTC) and draws mostly from this group but there was a smattering of faculty from the 4-year colleges and universities in Washington, Oregon, and California.
The plenary was given by Bill Moore, head of the Assessment, Teaching, and Learning wing of the Washington SBCTC. His presentation was largely a reminder that educators do not have to work in isolation. He concluded with an activity. We were seated at tables of 8-10 people. In this activity we each took a few minutes to identify a teaching-related problem we had. Then one person volunteered to take 5 minutes to describe their problem to the group. The group then had 5 minutes to ask clarifying questions. For the next 15 minutes, the person with the issue kept silent as the group members discussed the problem, proposing possible solutions. Finally, in the last 5 minutes, the person with the issue reacted to the discussion. While our table was initially skeptical of this process, some of us found it so useful that we may make it part of our on-campus professional development training.
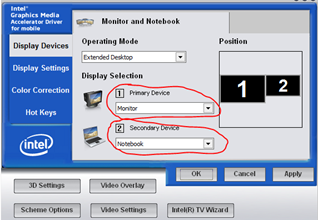
My tech tools presentation was in the first concurrent session of the conference. When I walked in the room and saw that there was no projector, I remembered that presenters at this conference are asked to bring their own projectors. I have one. Unfortunately it was sitting under the desk in my office 300 miles away.
After doing much asking around, Jerry Lewis at Columbia Basin College offered the use of his. It was in his hotel room a bit of a hike away. He arrived 3 minutes before the 10:30am start time. He ran part of the way. (Thank you, Jerry!!) With 75-80 people in attendance, it would have been difficult to have them huddled around my computer screen. I suppose the alternative would have been an interpretive dance of the various tech tools. That would have whittled down the audience enough that we could have huddled around my computer screen. There were several people in the room with computers. If the free wifi at the Spokane Convention Center would have been faster than dial-up, I could have used JoinMe to beam my desktop to the participants. JoinMe does work on web-enabled phones.
To avoid that snafu in the future, I created a FollowUp.cc for the day before I am to leave for next year’s conference reminding myself to take a projector if I’m presenting.
For this presentation, I started with directing participants to my workshop backchan.nl. To get there one could either enter the URL directly into one’s web browser or smartphone users (approximately 75% of attendees) could scan the QR code I gave them. Participants used backchan.nl to offer their suggestions regarding the tools I discussed or additional tools that the participants might find useful.
Next up was Dropbox.com. Educators frequently have to access their files from their offices, their homes, their classrooms, and on the go, like when they’re at conferences. I would be remiss if I gave a tech presentation and omitted Dropbox. About a quarter of the attendees currently used this tool. After covering some of the major features, I suspect at least another 25% were onboard. In fact, some had it installed on their smartphones before the session was over.
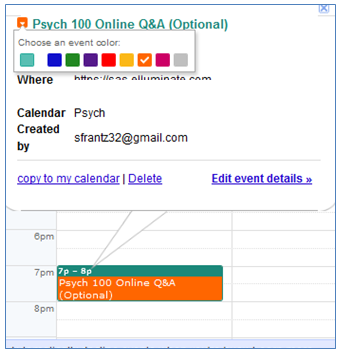
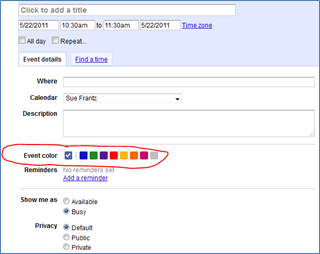
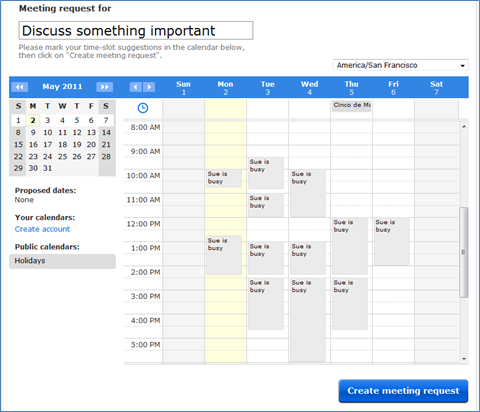
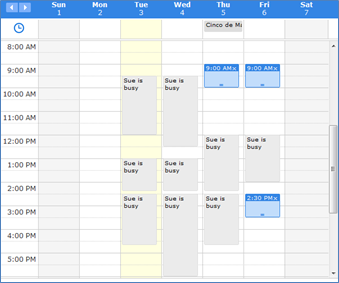
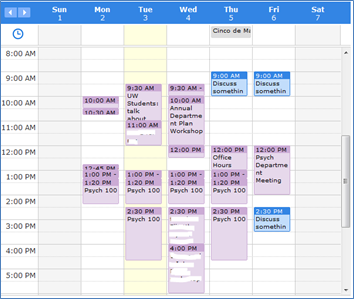
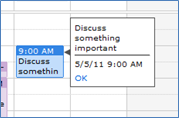
The other tools I wanted to make sure I covered were YouCanBook.Me and Doodle’s MeetMe. In this presentation the only people who had heard of the former were from my college. Given the number of students and advisees we have, one of these tools, or something like them, is a necessity.
The other tool I wanted to demonstrate was Conduit’s web browser toolbar. Research shows that the fewer barriers there are between you and a behavior, the more likely you are to engage in that behavior. As one conference participant put it, “So the toolbar will be there when the student is on Facebook?” Yes, it will.
Of the remaining tools, participants were interested in Audacity for providing feedback to students. Other participants suggested alternatives such as Tegrity, a tool freely available to members of the Washington State Community and Technical College system. Another person was interested in PhraseExpress, another tool useful for grading papers.
What I especially like about this presentation approach is that I get to cover what I think are the most important tools while giving participants an opportunity to hear about the tools they’re most interested in.
It was now time for lunch. I had the pleasure of sitting with a couple psychology faculty from South Puget Sound Community College in Olympia, WA. Our conversation covered a lot of ground, including both psychology and technology.
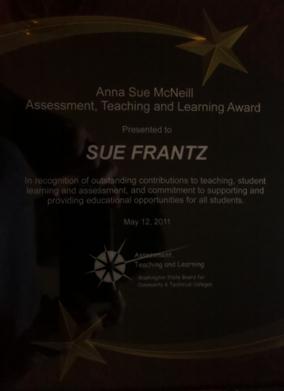
Oh. And I got an award. My sincerest thanks to my Vice President of Academic Affairs, Jeff Wagnitz, for suggesting the nomination and to my colleague, Social Science Division Chair, and friend, Ruth Frickle, for writing the nomination letter. Over the last 10 years I’ve done much work at my college around assessment of student learning outcomes. I’m now leaving that role to focus on the technology of teaching and learning. It means a lot to me to have my assessment work acknowledged and appreciated.
I spent the afternoon in the ‘eLearning Center’. That was a new addition at this year’s conference. Participants could drop in for help with any technology related to teaching and learning. While it was primarily used as a place for the tech folks to hang out and chat, those conversations were quite fruitful.
The second and final day of the conference started with a series of concurrent sessions. The first one I attended was by Stephanie Delaney at Cascadia Community College. She piloted a peer mentor program that was based on two premises: 1) The first two weeks are crucial to student success in an online or hybrid course; 2) Students who need the most help do not seek it out. With a small grant, she hired two student workers to contact approximately 200 students identified as high risk, including students in their first or second quarter in an online course. Two weeks before the quarter started, the target students were contacted by phone and/or email to see if they needed help with the course management system and to identify any roadblocks, such as no computer/internet at home. A week before the quarter started, students were contacted again with a reminder to log into the online/hybrid course next week and do something. At the end of the first week, they were contacted a third time to see how things went during the first week. At the end of the second week, they were contacted one last time. For students who were struggling, they were given information about where to get help as well as how to go about dropping the course if they had decided that online courses weren’t for them. Despite the program’s success, it was not funded for next year. Participants suggested other ways to run it, such as through the tutoring center or as a student government initiative.
The second session of the day was on Tegrity, lecture capture software, presented by Jerry Lewis from Columbia Basin College, my hero with the projector. I started using Tegrity earlier this year so there wasn’t much new in his presentation for me. I did learn how to solve one of my Tegrity problems. When I have my headset on and I’m playing a video, the audio only plays in my ear. It doesn’t play over the speakers. David Spiel, also of Columbia Basin College, told me the solution. I haven’t tried it yet. As soon as I get it working, I’ll post the solution here.
The third and last session of the day came from Tom Caswell and Scott Dennis, both from the WA SBCTC. Their presentation was on how to use third party tools, such as what I cover in this blog, in combination with a course management system. You can download their handout here, which includes some examples from the Google suite of products. Be sure to check out Scott Dennis’ tech tools bookmarks.
If you’re located in the Pacific Northwest or are looking for an excuse to visit, I hope to see you at the 2012 conference May 2-4 in Vancouver, WA. Be sure to say hi!