NetClick.mobi: Free, Web-Based Clicker System
NetClick.mobi is a new, free, web-based clicker system. After uploading a pdf, students can see the pdf on their web-enabled devices. Students tap (mobile) or click (computers) on the screen to vote.
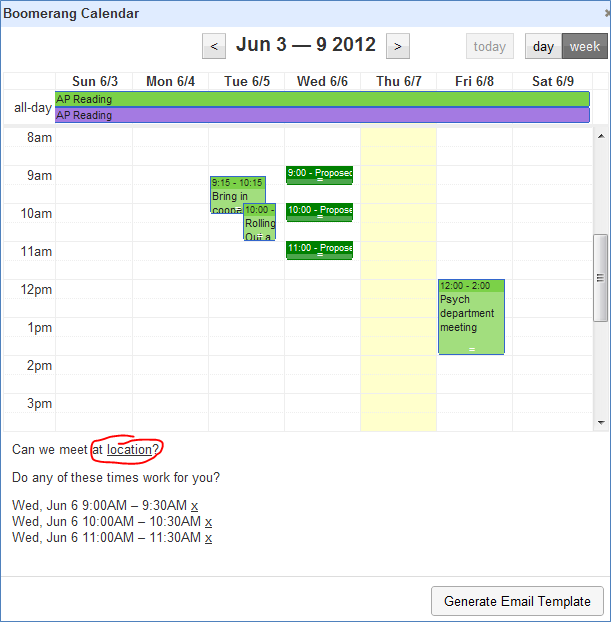
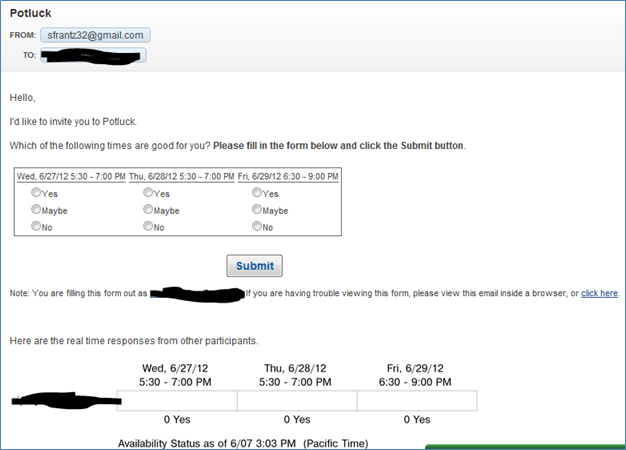
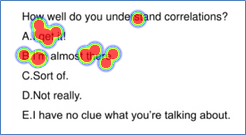
This is what it looks like for a typical multiple choice question.
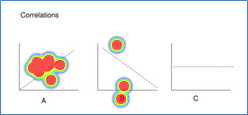
On this question, I asked, “Which scatterplot represents a positive correlation?”
Setting it up.
After creating an account on the NetClick.mobi website, I need to upload some pdfs. The developers suggest saving PowerPoints as pdfs and just using NetClick.mobi to do the presentation. I have two problems with that. 1.) I use animations. Rather than have 7 slides, I gradually click through to reveal content on one slide. When converted to pdf, all of the content appears on one slide. There’s no way to reveal as I go. That turned out to be a pretty solvable problem. PPTSpliT is a PowerPoint add-in that will, well, split all the slides that have animations into their own individual slides. After the split, save the PowerPoint to a new file, and then save the file as a pdf. 2.) The second problem was more of an issue. My PowerPoints contain hyperlinks. Plus I like PowerPoint’s presenter view which allows me to see my notes and easily jump to other slides. (See this blog post for more about presenter view.) That all is lost in a pdf.
For now, I have pulled the slides I’d like my students to click on into their own PowerPoint files and saved them as pdfs. I’ll use PowerPoint as I normally do, and then switch to my web browser for the interactive content.
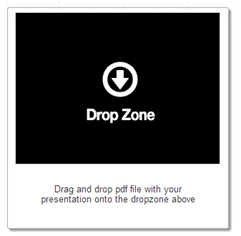
NetClick.mobi makes it easy to upload files. After logging into my NetClick.mobi account, I just drag my pdf into the “drop zone.”
Running it in class.
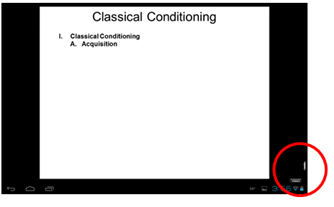
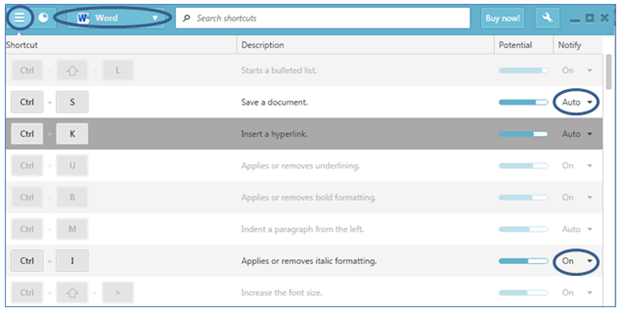
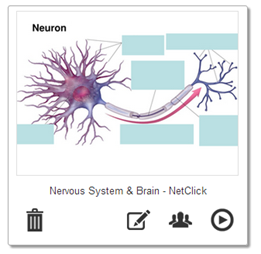
All of my uploaded files appear like this. I just hit the play button (bottom, right) when I’m ready to run it in class. I run my PowerPoint slides, then hit ALT-TAB (on my PC keyboard) to switch to my browser. I press ALT-TAB again to return to my PowerPoint presentation.
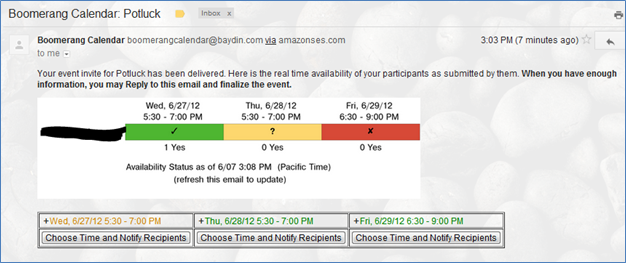
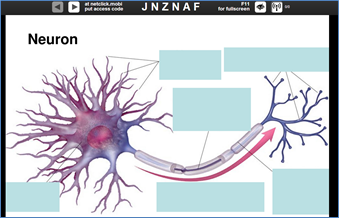
This is what appears in my browser window. Students go to NetClick.mobi. If they are on a mobile device, they’ll be immediately prompted to enter the access code, the six letters prominently displayed at the top of the page; JNZNAF, in this case. On a computer, students need to click on a tab labeled “Slideshow” in order to enter the code.
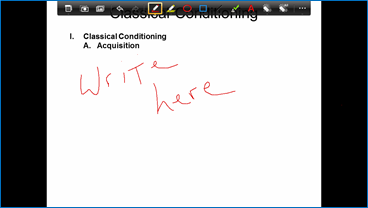
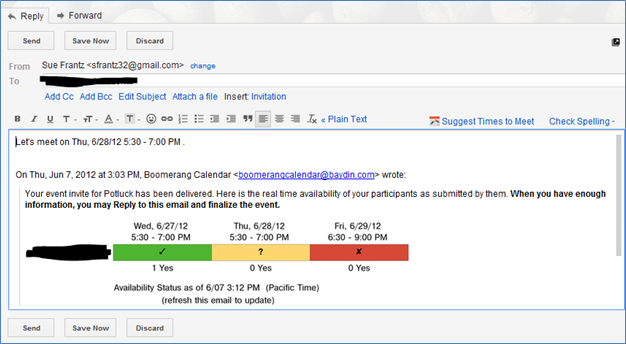
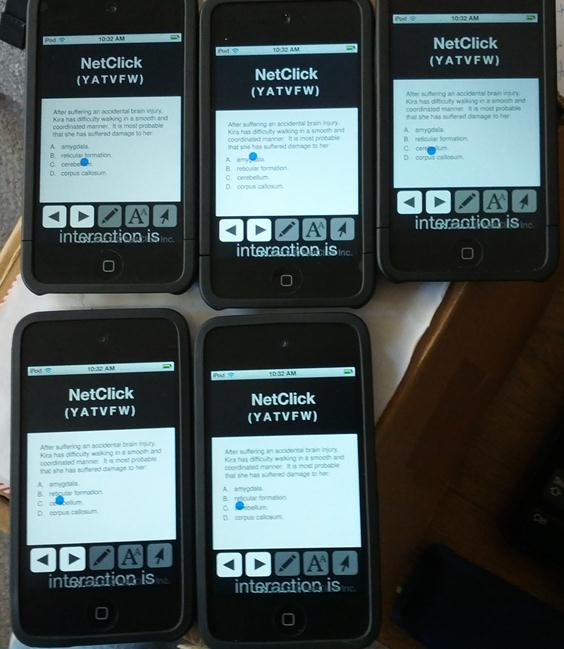
This is what it looks like on mobile devices. The blue dot is where a student has tapped. Notice the different access code. Every time NetClick.mobi runs, a different access code is generated.
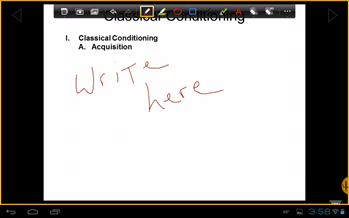
To show student responses, I tap on the eye icon at the top of the browser window. This also locks student responses.

When I’m ready to move on to the next slide, I can click on the arrow keys at the top of the browser window, press enter on the keyboard, or use the keyboard arrow keys.
After class.
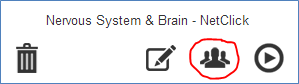
If I’d like to revisit student responses after class, say, for assessment purposes, I can go back to the main screen, and for the pdf I’m interested in, click on the people icon. NetClick.mobi automatically created these files; I didn’t need to save anything when I was done with my presentation.
This will show me the dates and times I’ve run the pdf. Clicking on the double-square icon allows me to look at the student responses for each slide.

Comparison to Socrative.
I like that NetClick.mobi allows for images. When showing a neuron for example, I can ask students to tap on the dendrites or tap on the section that releases neurotransmitters. You’ll notice that on the mobile view there are icons for a pencil, letter, and an arrow; all are greyed out. I suspect these are placeholders that portend future functionality.
Socrative allows me to collect student names on premade quizzes. NetClick.mobi (currently?) is completely anonymous.
If idle too long on student devices, students have to re-enter the code to see the screen.
NetClick.mobi is built using HTML5, so it’s limited to browsers that can handle it. Opera on mobile devices will not work. Firefox, Chrome, and Safari all seem to work just fine.
Have a favorite?
Do you have a favorite free, web-based clicker system?