Office 2013: Add Google Drive and Dropbox as a “Place” for Saving Files
I have put MS Office 2010 to bed and have moved on to MS Office 2013. There’s nothing like new software replacing old to knock you out of equilibrium. This post is going to deal with the “Save as” menu. When I first saw the “Save as” options, I was pretty stoked. I could save to my newly-created college SkyDrive account. I could save to my personal SkyDrive account. I could save to my computer. With “Add a Place,” I naively thought, “Cool, I can add places like Dropbox and Google Drive.” Using MS Office 2013 out-of-the-box, as it turns out, you cannot do this perfectly reasonable action.
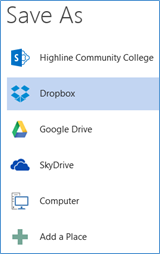
This is what I wanted.

To get there, you have to do a quick and easy work-around. This method worked for Windows 7. I make no guarantees for Windows 8.
Close all running MS Office programs.
Go to this webpage and follow the directions. On that webpage you will download and run two scripts: One for Dropbox and one for Google Drive. Of course, if you just want, say, Dropox, then just run the Dropbox script. To finish running the scripts, you will need your computer’s pathways to your Dropbox and Google Drive folders. If you’re not sure what those pathways are, there’s an easy way to get them. Navigate to your Dropbox folder, and right-click in the address bar. You can even right-click on the word “Dropbox”. Select “Copy address as text.” Open a new tab in your web browser (or open a non-MS Office text editor, such as Notepad), and paste. That’s the path to that folder. If you want to do the same for Google Drive, repeat for your Google Drive folder.

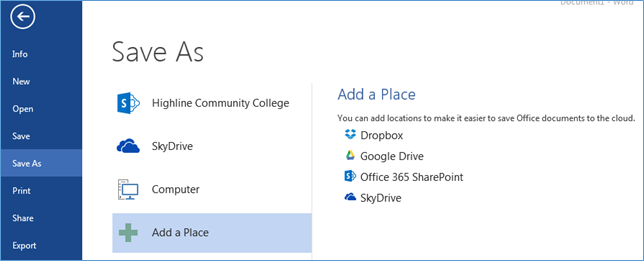
Once you’ve finished running both scripts, open MS Word. Create a new document, and tell Word you want to save it. On the next Window, click “Add a Place.” You will now see Dropbox and Google Drive there as options. Click to add them.

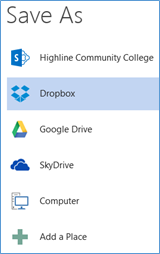
Next time you want to save your new document to Dropbox, just click “Save,” click “Dropbox,” and you’ll be able to quickly navigate your Dropbox files. Doing this in one Office product, say, Word, makes it work in all other Office products, say, Excel.

I have a sneaking suspicion that this will be the first of many Office 2013 tips and tricks blog posts.