Screen Capture Tool You Already Have
[Update 2/27/2012 : Grab is a similar utility for Mac users. Go to Applications and look in the Utilities folder. — Thanks, Steve!]
Well, you already have this screen capture tool if you’re a Windows 7 user. Click the start button, select “all programs”, and in your accessories folder you’ll find “Snipping Tool”.
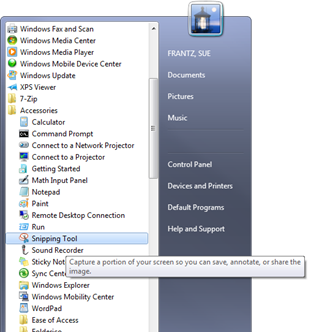
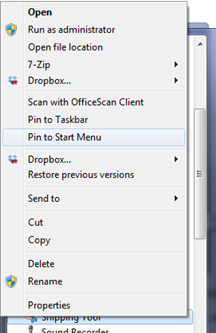
Now that you’ve found it, right-click on it, and select “pin to start menu” so it will be easily accessible.
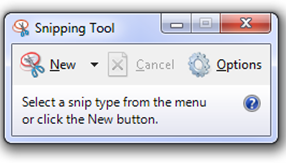
When you run Snipping Tool, this little window pops up.
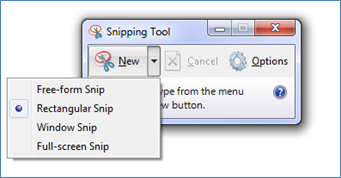
Click the little down arrow next to “New” to decide how you’d like to take a snapshot of your computer’s desktop. Whatever you choose will be the default the next time the program runs, but you can change it any time. I prefer the “rectangular snip”. The next time I run the program, I will just click the word “New”, bypassing this little menu.
Your screen will become faded, except for the Snipping Tool window. A cross (+) will appear. Click the mouse and drag the cross to encompass the area you want a picture of. Unclick. A preview will show in the window, like this screenshot I took of the word unclick.
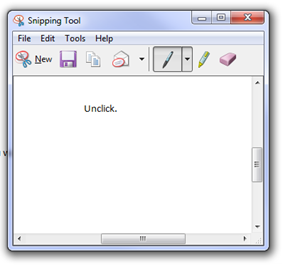
Now you can save it, copy it to your clipboard (then paste it, for example, in a document like I’ve done here), email it to someone, write on it, or highlight some part of it. If you write on it, and want to erase, click the little eraser icon.
To take another shot, click the “new” button.
Almost all of the screenshots you see in this blog were done using Snipping Tool. Others, like most of the ones for this particular blog post, I used “Print Screen”. On your keyboard there’s a key labeled something like “PRTSC” or it may even say “Print Screen”. Hit that button, and while it looks like nothing has happened, an image of your computer’s desktop has just been saved to your clipboard. Go to, say, a Word document, and paste. An image of your computer’s desktop will be embedded in the document.