I’m often asked about the easiest way to set up a website. While the course management systems are fine for, well, managing courses, if you want students to access information before or after the course a personal website is a logical way to go. Last week I was at the National Institute on the Teaching of Psychology (NITOP), the best psychology-focused teaching conference. During a participant idea exchange on favorite tech tools, one person suggested Weebly.com. (I’m sorry, I don’t remember your name! If you read this, please email me. I want to give you proper credit.)
Go to Weebly.com, and set up an account. You can log in with the Facebook credentials or create a unique username and password for the site.
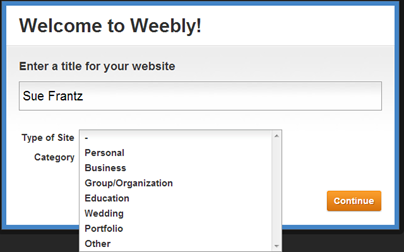
Next you’re asked for a title and choose the type of site you’re setting up.
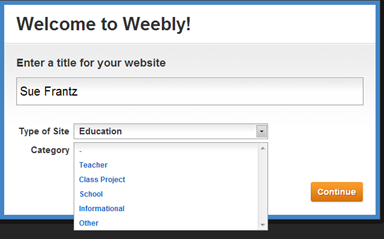
If you select education, you’re give this choice of categories to select from.
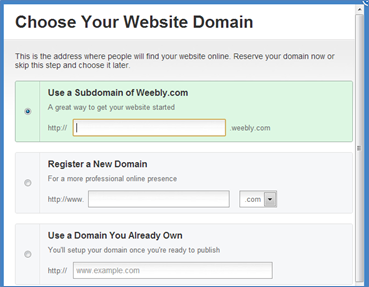
Next, choose your domain. That’s going to be your URL. Since I already have a website, I chose to just go with a Weebly subdomain: http://suefrantz.weebly.com. If I didn’t already own the domain suefrantz.com, under “register a new domain,” I would enter suefrantz in the box. If you want something other than .com, use the dropdown menu to pick a different extension. Since I own suefrantz.com, if I wanted to move from my current host, I could enter suefrantz.com in the box under “use a domain you already own.” Weebly would walk me through everything I needed so that visitors to suefrantz.com would be directed to Weebly instead. Whatever decision you make here is not irreversible. More on that later.
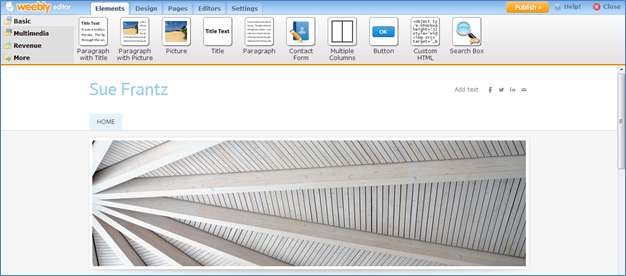
With those decisions made, you’re now taken into the editor.
Paragraph with Title
It’s a drag-and-drop interface. Want to add a paragraph with a title, click on “paragraph with title” in the toolbar, drag it to where you want to put it, and unclick.
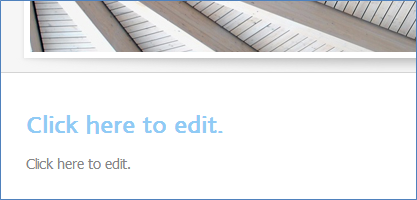
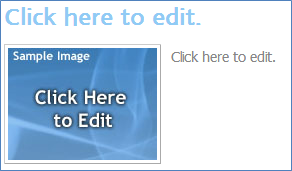
After dropping it in (below the default image), Weebly tells you what to do. Click on the big print to edit the title; click on the small print to edit the paragraph text.
After selecting “click here to edit” (either one), you get a familiar toolbar. The buttons are, from left to right:
Bold, italics, underline, font color, increase font size, decrease font size, remove formatting, add a link, align left, align center, align right, justified, undo, and redo.
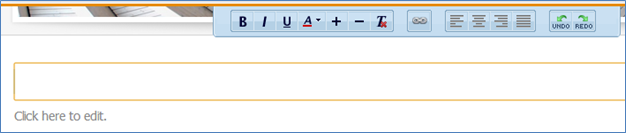
When editing a paragraph instead of a title, you get two additional buttons on the toolbar: Bulleted list and numbered list.

Quick tip: Use TAB to move between elements. For example, when you’re done with the title, use TAB to move to the body of the paragraph. Use CTRL-A to select all of the text in that element. Typing will erase what was selected. If you added a second titled paragraph under it, hitting TAB again will move your cursor to the next title.
If you change your mind about an element, you can always delete it. Mouse over it and in the top right corner of the element you’ll see a little red circle with a white x in it. Click the red circle to delete.
Paragraph with Picture
After dragging this element onto the page, I can edit the title, the paragraph text, and add an image.
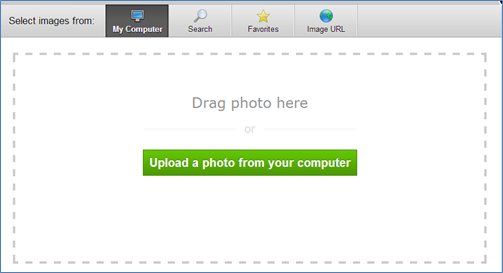
Clicking on the sample image, this box pops up. If the image is on your computer, open the image’s location, and drag and drop it to add it. Or, if you prefer, click on “upload a photo from your computer” to navigate to it the old-fashioned way. Click the search button to find photos, both professional ($5 each) and free. Mouse over the photos you want to mark as “favorites” or click “select” to choose it. Click the “favorites” button to see the photos you marked as such. For most images on the internet, you can right-click on it to “copy image URL”. If you go that route, be sure that you either own the copyright or that the copyright owner is fine with you using the image.
Custom HTML
When you drag this element on to the page, you can add any HTML content you’d like. Here’s where this comes in handy.
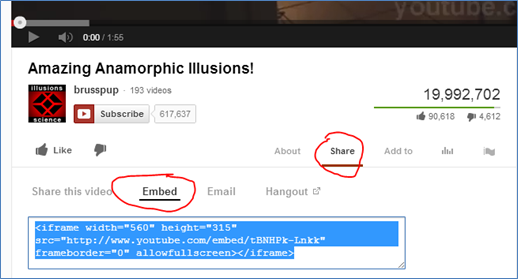
For most YouTube videos, you can get an embed code. Under the video, click “Share” and then “Embed”. Copy the code, and paste it your “Custom HTML” box. The video will play on the page.
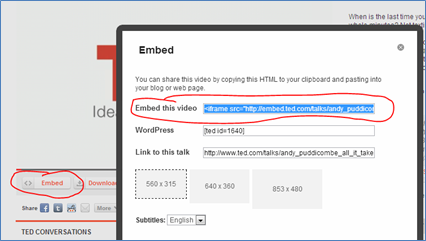
You can do the same with TEDTalks. Click the “Embed” tab under any TEDTalk video. From the popup window, copy the code, and paste in your “Custom HTML” box.
Changing the default banner image
While we’re talking about images, let’s change the default image on the page.
Mousing over the image makes an “edit image” button appear. Click the down arrow to “edit image.”
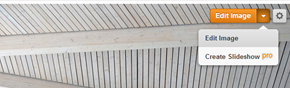
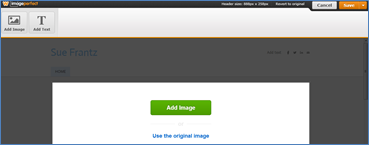
Clicking the “add image” button gives you the image options discussed above. Or you can replace the image with text. Click the “add text” button multiple times to add multiple text boxes. If you decide you don’t like any of your changes even after saving them, click on “revert to original” in the top right corner to the left of the “Cancel” button.
Design Tab
Now that you have the idea of how the page elements work, let’s move on to design.

Flip through the filmstrip at the top to choose the layout you like. Click the arrow on the far right to see even more. Keep going. There are plenty to choose from!
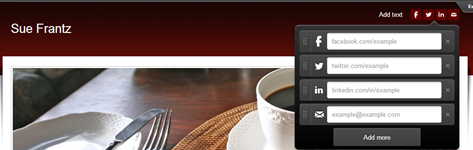
Going social
At the very top of the page, are the social media icons. Mouse over them to add your contact information. Click the “x” to the right to delete it. To change the order, click the far left handle (the little box with the dots in it) and drag it. Click the “add more” button to add more.
Add a page
Since you may not want all of your content on one page, add a page. Click the “Pages” tab, then click the “Add page” button.
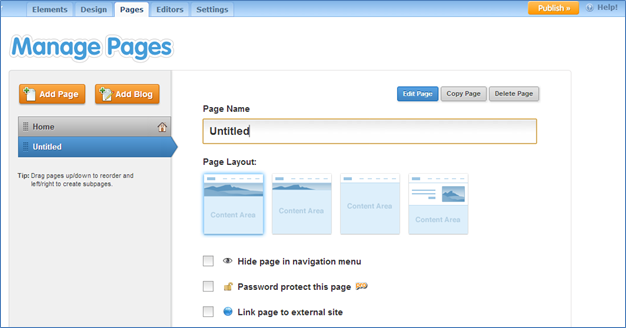
After adding a page title, click “Save” at the bottom. You’ll be redirected to the same page editor interface you started with.
Want to go back to editing your main page? Click on the “Pages” tab again, and select “Home,” and then click the “Edit Page” button at the top of the page.
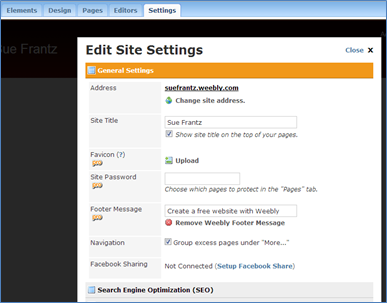
Settings tab
Want to change the site address you set when you started this whole process? You can do that here.
Publish
When you’re ready to go live, click the orange “publish” button in the top right corner.

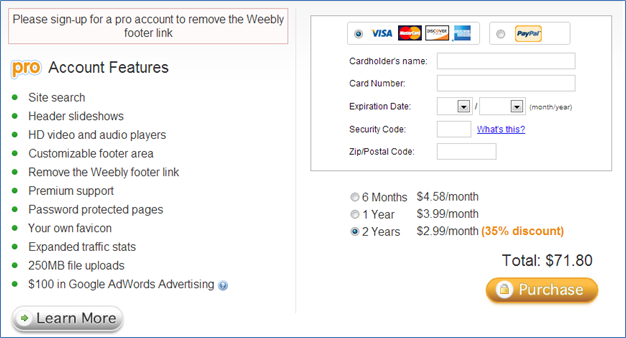
Pro version
For a reasonable sum of money, you can add a number of nifty features, such as the ability to password protect individual pages.
Conclusion
This is the drop-dead easiest way to create your own website.

Nice introduction for people interested in Weebly. Weebly has almost all the basic tools in creating a website, ofcourse FREE and some Premium features for PRO users. I used Weebly since 2009 and i love how the development goes. With my years of experience i learned many.. many things which i compile to my new blog at weeblytricks.blogspot.com. These days, i keep researching for tricks that can be applied to Weebly.
nice site sir …. i have a weebly blog sir ….
i want to suggest from you sir … pls suggest related post & popular post plugin for my blog …
please suggest me sir ………..